
 We are often asked about how we review our footage.
After a long overnight session, what is the process we use to analyze and review the video we have recorded?
Well, in all honesty, I have to say there isn’t any best or easy way to do it. Having said that, everyone will have their way of doing things and will do the audio/video review the way that best suits them with the time they have to do it and around life’s schedules and demands.
So I’ll tell you what I do. It’s pretty straightforward really, but again there’s no fast way to do it if we want to do it properly.
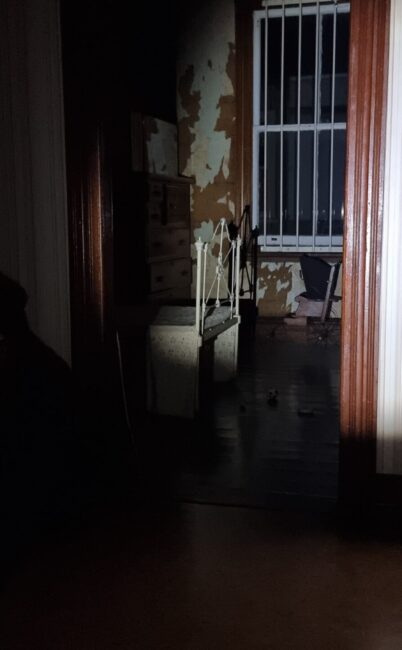
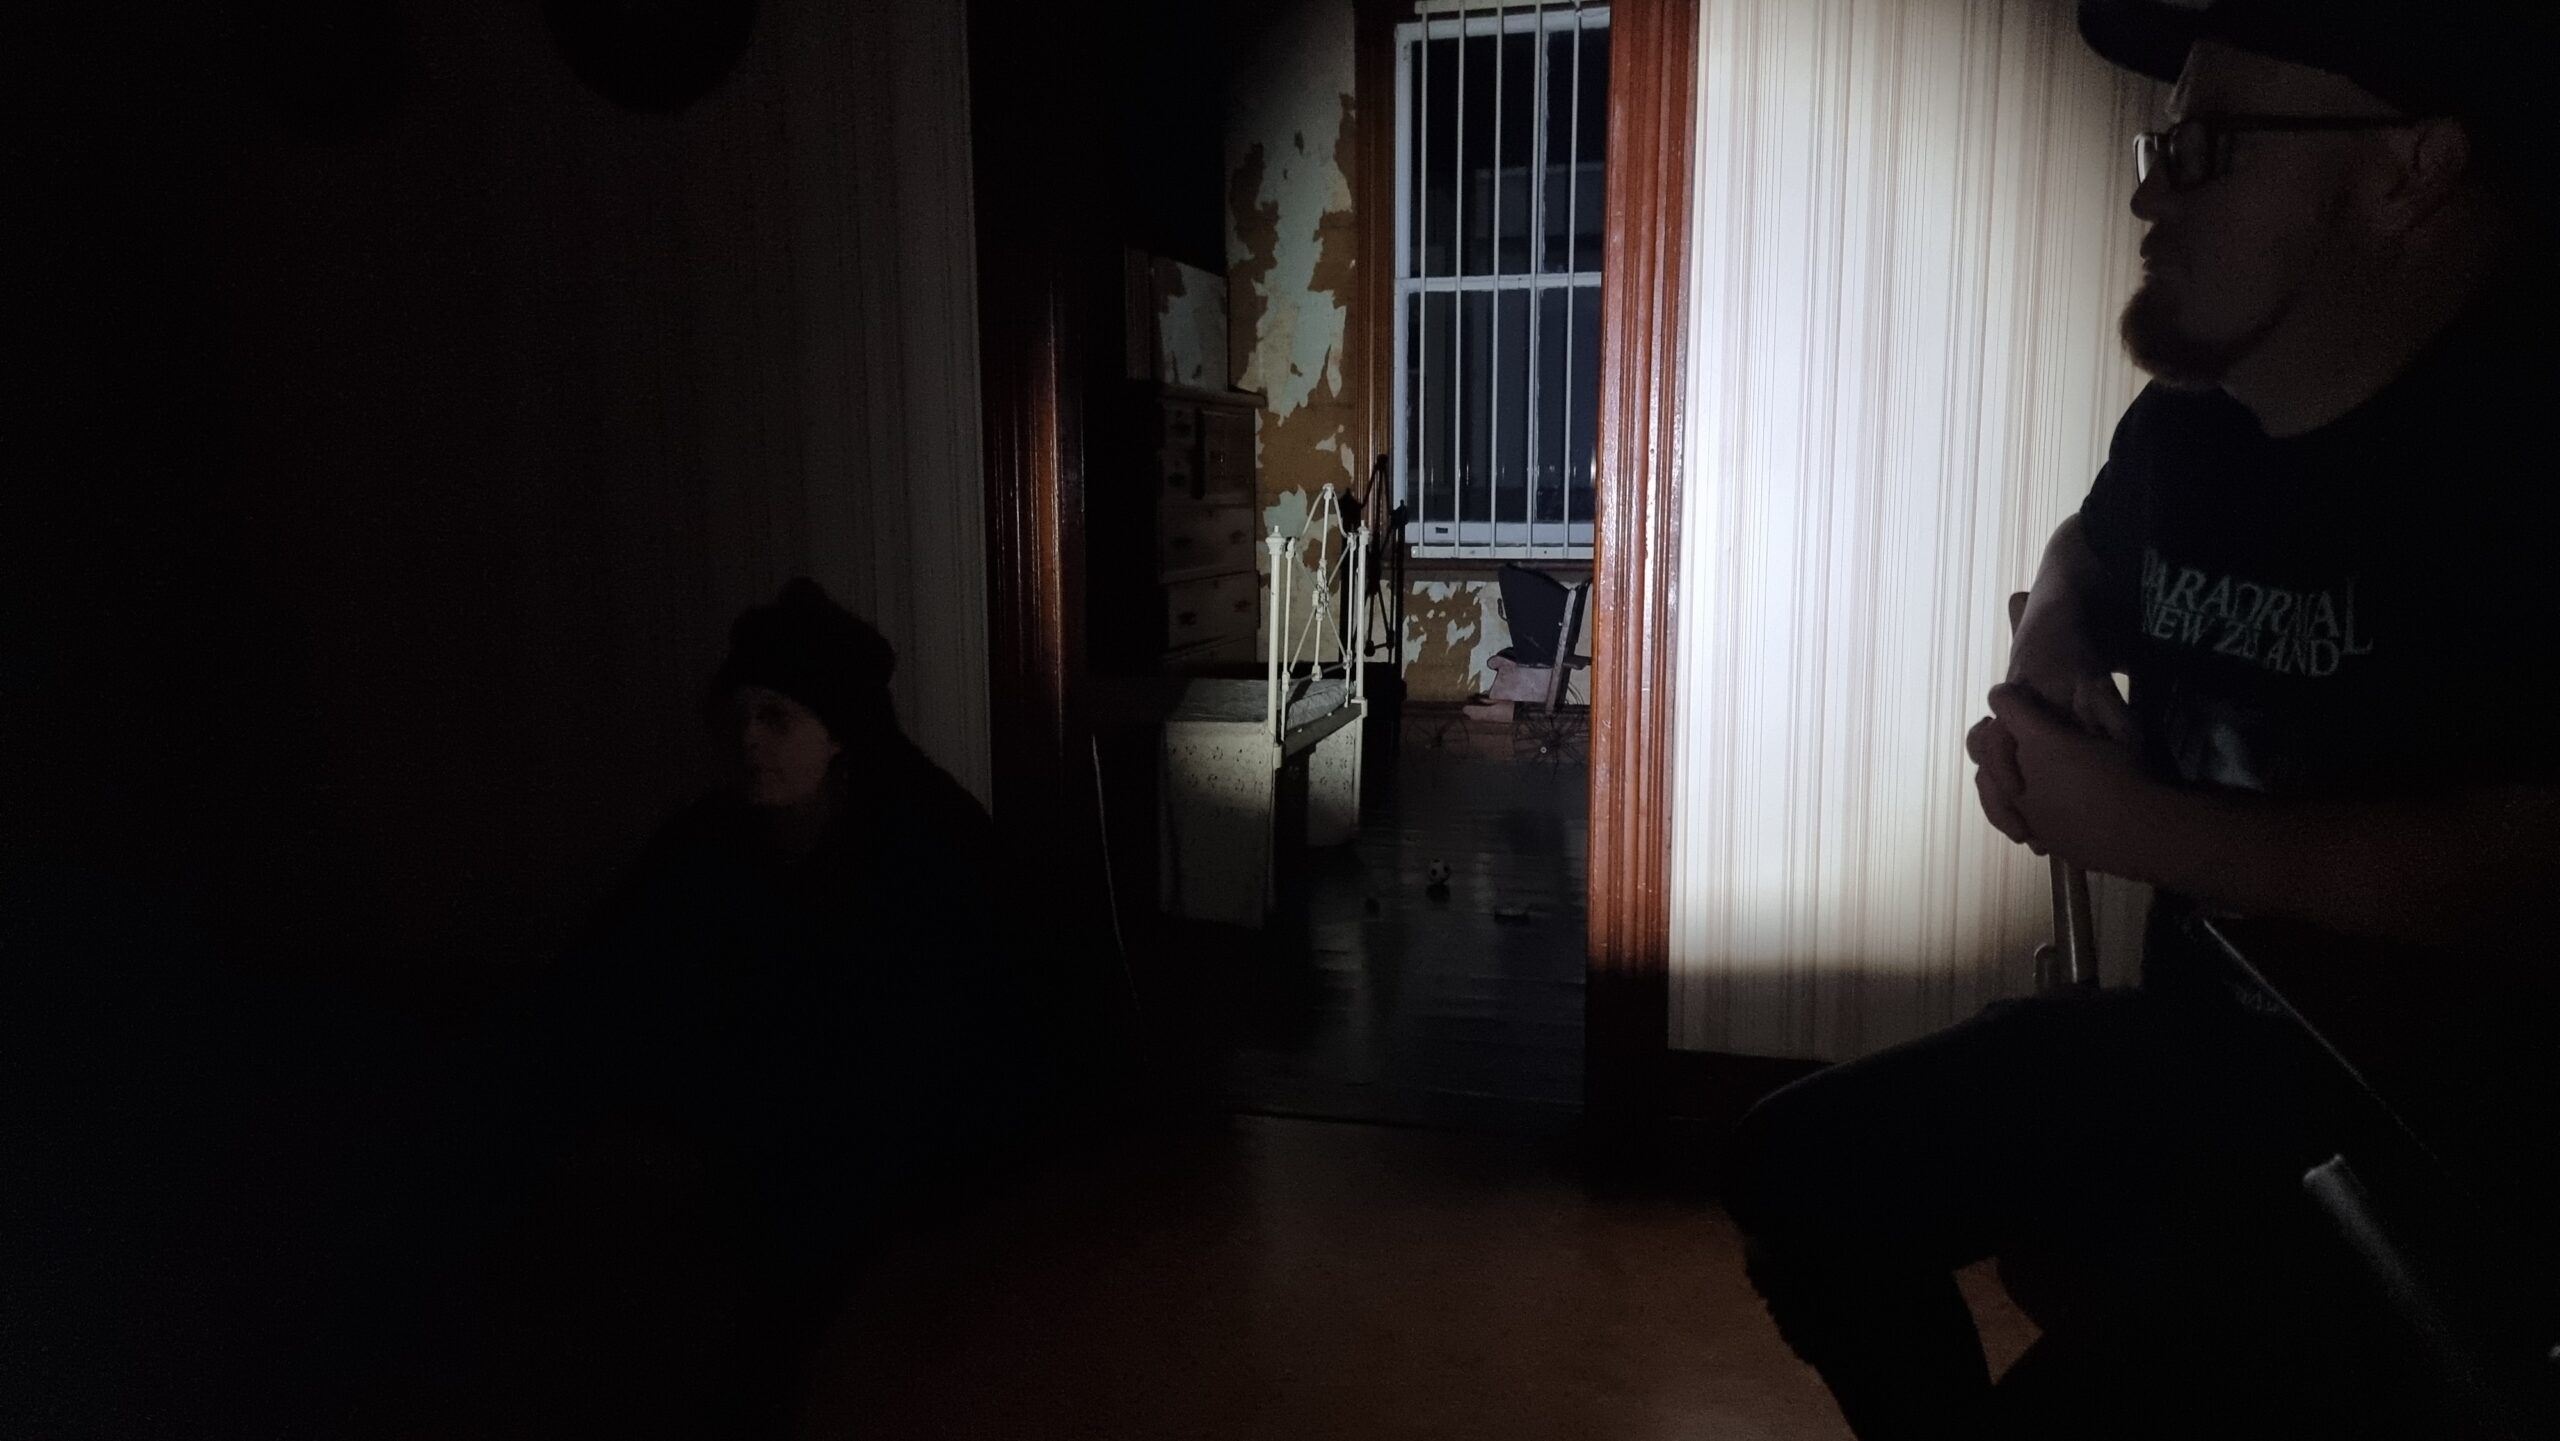
An investigation might give me anything from 1 camera to 24 cameras worth of material to review, depending on the location and how the investigation has been set up. If it’s a team effort there’ll be an average of about 6 – 8 cameras to review. If a DVR security system is used there’s way more to look at if we can store the footage to our files. Sometimes we use our own DVR system, while others we’ll request the security camera footage from the location owners.
For a solo session, I might have 2-3 cameras rolling. Usually one handheld and two tripod-mounted.
The morning after an investigation session,(after some sleep, of course) I’ll sit at my computer and start transferring the photos and video to a new file. I’ll give the file a name ie PUMPHOUSE THEATRE SESSION JAN 10TH 2024, or whatever.
That file will then usually contain two sub-files; PHOTOS and VIDEOS. As you’ve probably gathered, photos go in one and videos in the other.
I usually start with reviewing the photos, as it’s a lot easier and less time-consuming. Just enlarged on my computer monitor and scrolled through one by one, looking for anything that might stand out as being odd or unusual.
Video, now that’s where the time is taken up.
I need to watch each video file, in real-time (actual speed), with headphones on and at a good volume so that I can ”re-live” that moment in its best format. Raw and unfiltered. As it was filmed.
I know others will run everything through filters to try and bring out any potential evidence to the forefront. For me, I prefer to keep it real and as it was filmed. I might adjust the contrast or brightness a bit to see things a bit clearer, but that’s about it.
A lot of people will record audio on a separate recorder and spend ages going through it all as well. To each their own I say. I prefer a video camera. Always have. It’s my go-to piece of equipment of choice.
This way I get audio and a video document of the scene. A record of those that were present, and what was going on at the time. Having video on hand to back up odd sounds has been very beneficial in the past. What initially sounds like a mysterious disembodied voice, soon shows itself as being a team member murmuring something under their breath subconsciously. It could also be misinterpreted, or misidentified body movement.
Video & audio review does take a lot of time though. A fact that many who enter this scene don’t think about or take into consideration. The review is probably one of the more important tasks that needs to be done. The actual investigation session is the easy part. The work that follows can be tedious, but it’s essential if you aim to do it right and be thorough with your investigation process.
Many of the possible EVPs and video anomalies we have captured through the years were not heard or seen at the time and were only picked up during the lengthy review process.
When a piece of footage of interest has been found, I just edit it out as a separate video clip. I’ll add in a good 30 or so seconds on either side of the anomaly to give more context and ”space” around it, instead of just cutting a 1-second anomaly out and leaving nothing to work on to better understand it.
I’ll label each anomaly clip and save it for later referencing. Much of our video recordings are time-stamped so we can often find that moment on multiple cameras which can give a far better picture of what happened and whether or not we might have captured something worthy of further analysis.
We’ve had video reviewing sessions lasting just a day or two, others can take weeks to review.
I usually allow one hour per night to review video footage. Mainly because I’ve just worked a full day at my day job and need to pace myself. Also, it can be harsh on the eyes, staring at a screen for too long.
Do the math. As an example, if you’ve filmed a 12-hour session on say 4 cameras, that’s 48 hours of real-time reviewing needed.
At one hour per evening, that’s 48 days.
Imagine if we used a full 24-camera DVR system, as well as all our tripod-mounted and handheld cameras!
Sometimes, if I’m in the mood I’ll do a two-hour review session, but I try to stick with an hour a day to save my eyes.
Unfortunately, if you’re a busy team, as we often are, the needed review time can tend to bottleneck. So certain investigation sessions need to be prioritised. Usually, in order of importance and whatever timeframe the location owner might request or have mutually agreed on at the time. The sessions we do at our ongoing research locations, where we have no time restraints or deadlines, tend to be put to the bottom of the list.
It can be a real chore to catch up sometimes. Put it this way, I’m still making my way through investigation sessions that we conducted well over 6 months ago. I’m currently reviewing the last four sessions we did. It’s a slow process, but essential.
Anyhoo, that’s a quick rundown of how I do things. I’m sure I’ve probably missed a point or two here, so feel free to ask any questions. I’m betting others might do it all differently. Eventually, you find the system that works for you and your lifestyle.
All part of the search!